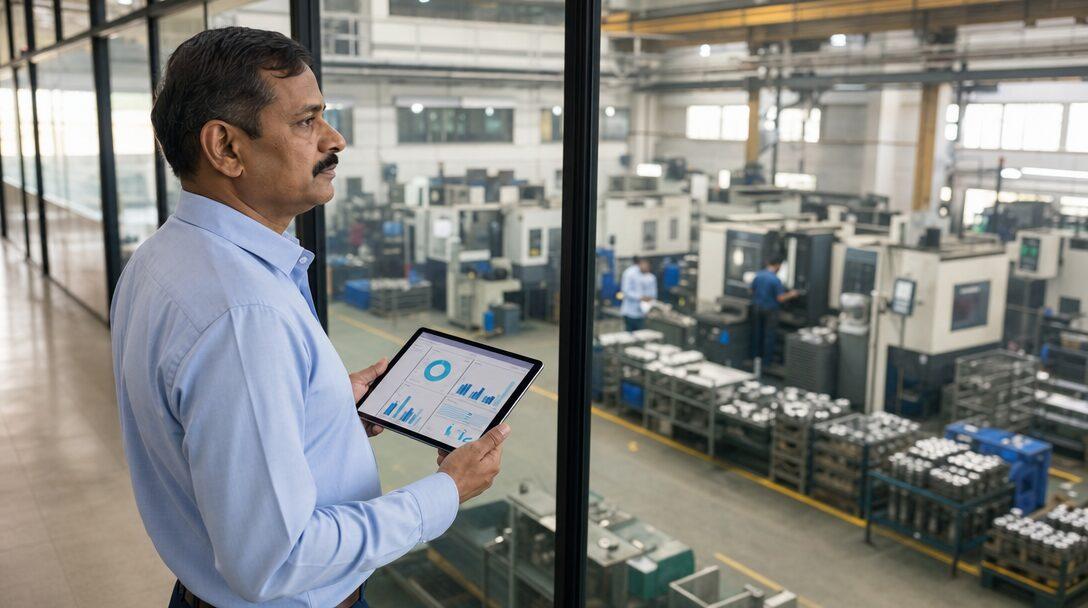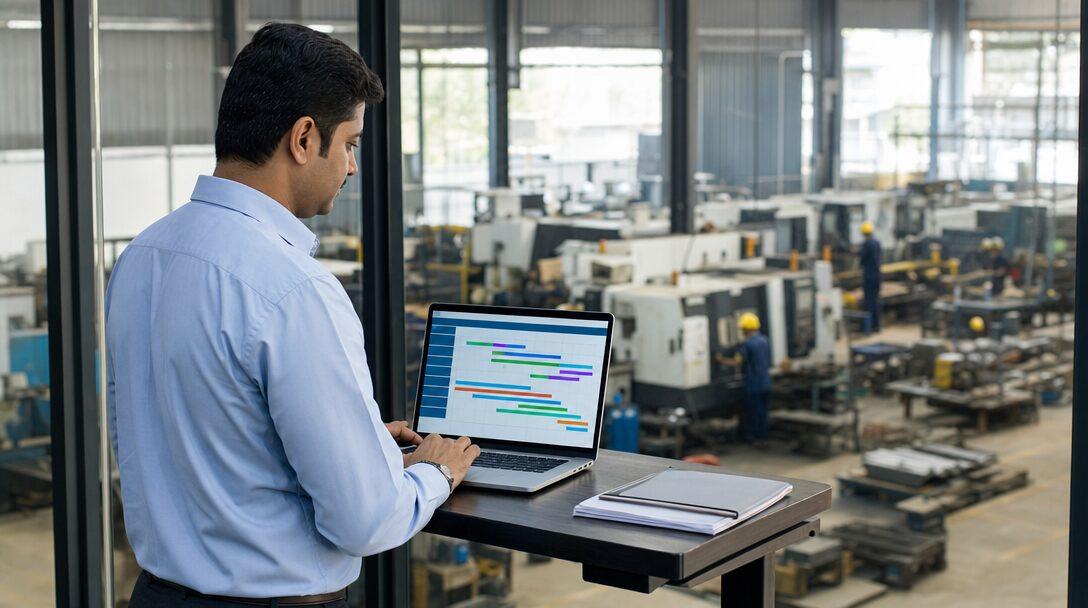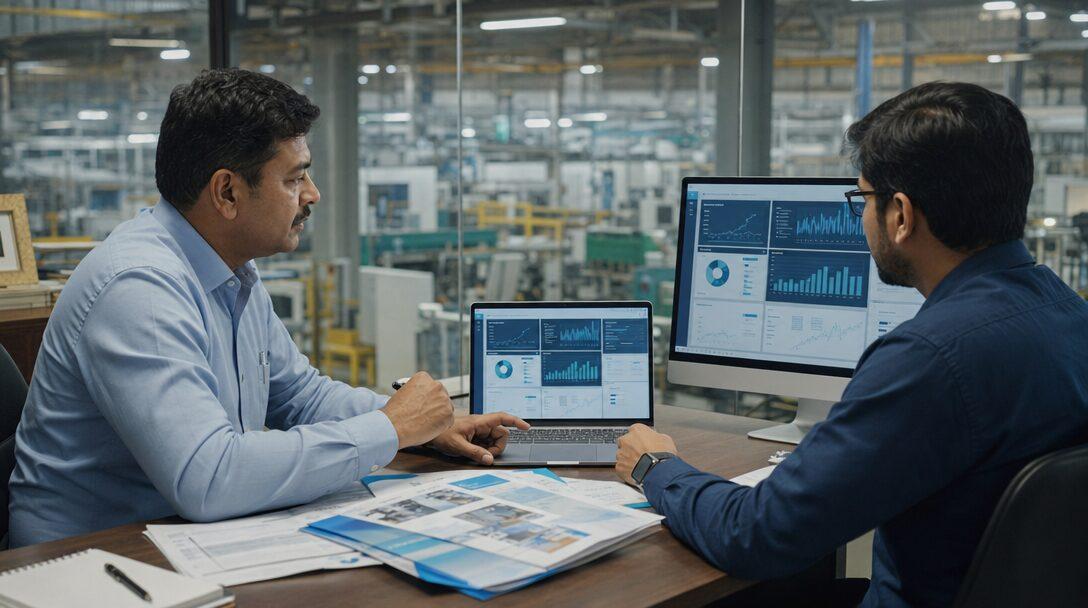

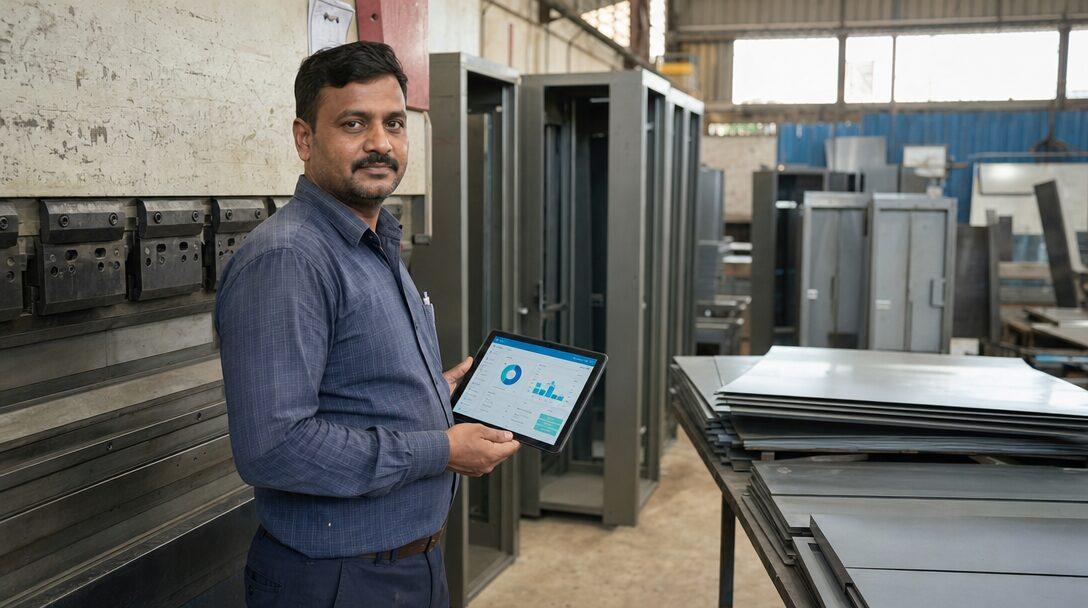
Picture a 25-person sheet-metal plant in Faridabad that makes steel almirahs. The owner has signed up for an ERPNext trial, clicked through the setup wizard, and is now looking at an empty Manufacturing workspace. This ERPNext tutorial walks that plant from an empty item list to its first finished almirah in stock, on ERPNext v16, one DocType at a time. The almirah, its quantities and its rates are an example we made up for this walkthrough; swap in your own product as you go.
TL;DR
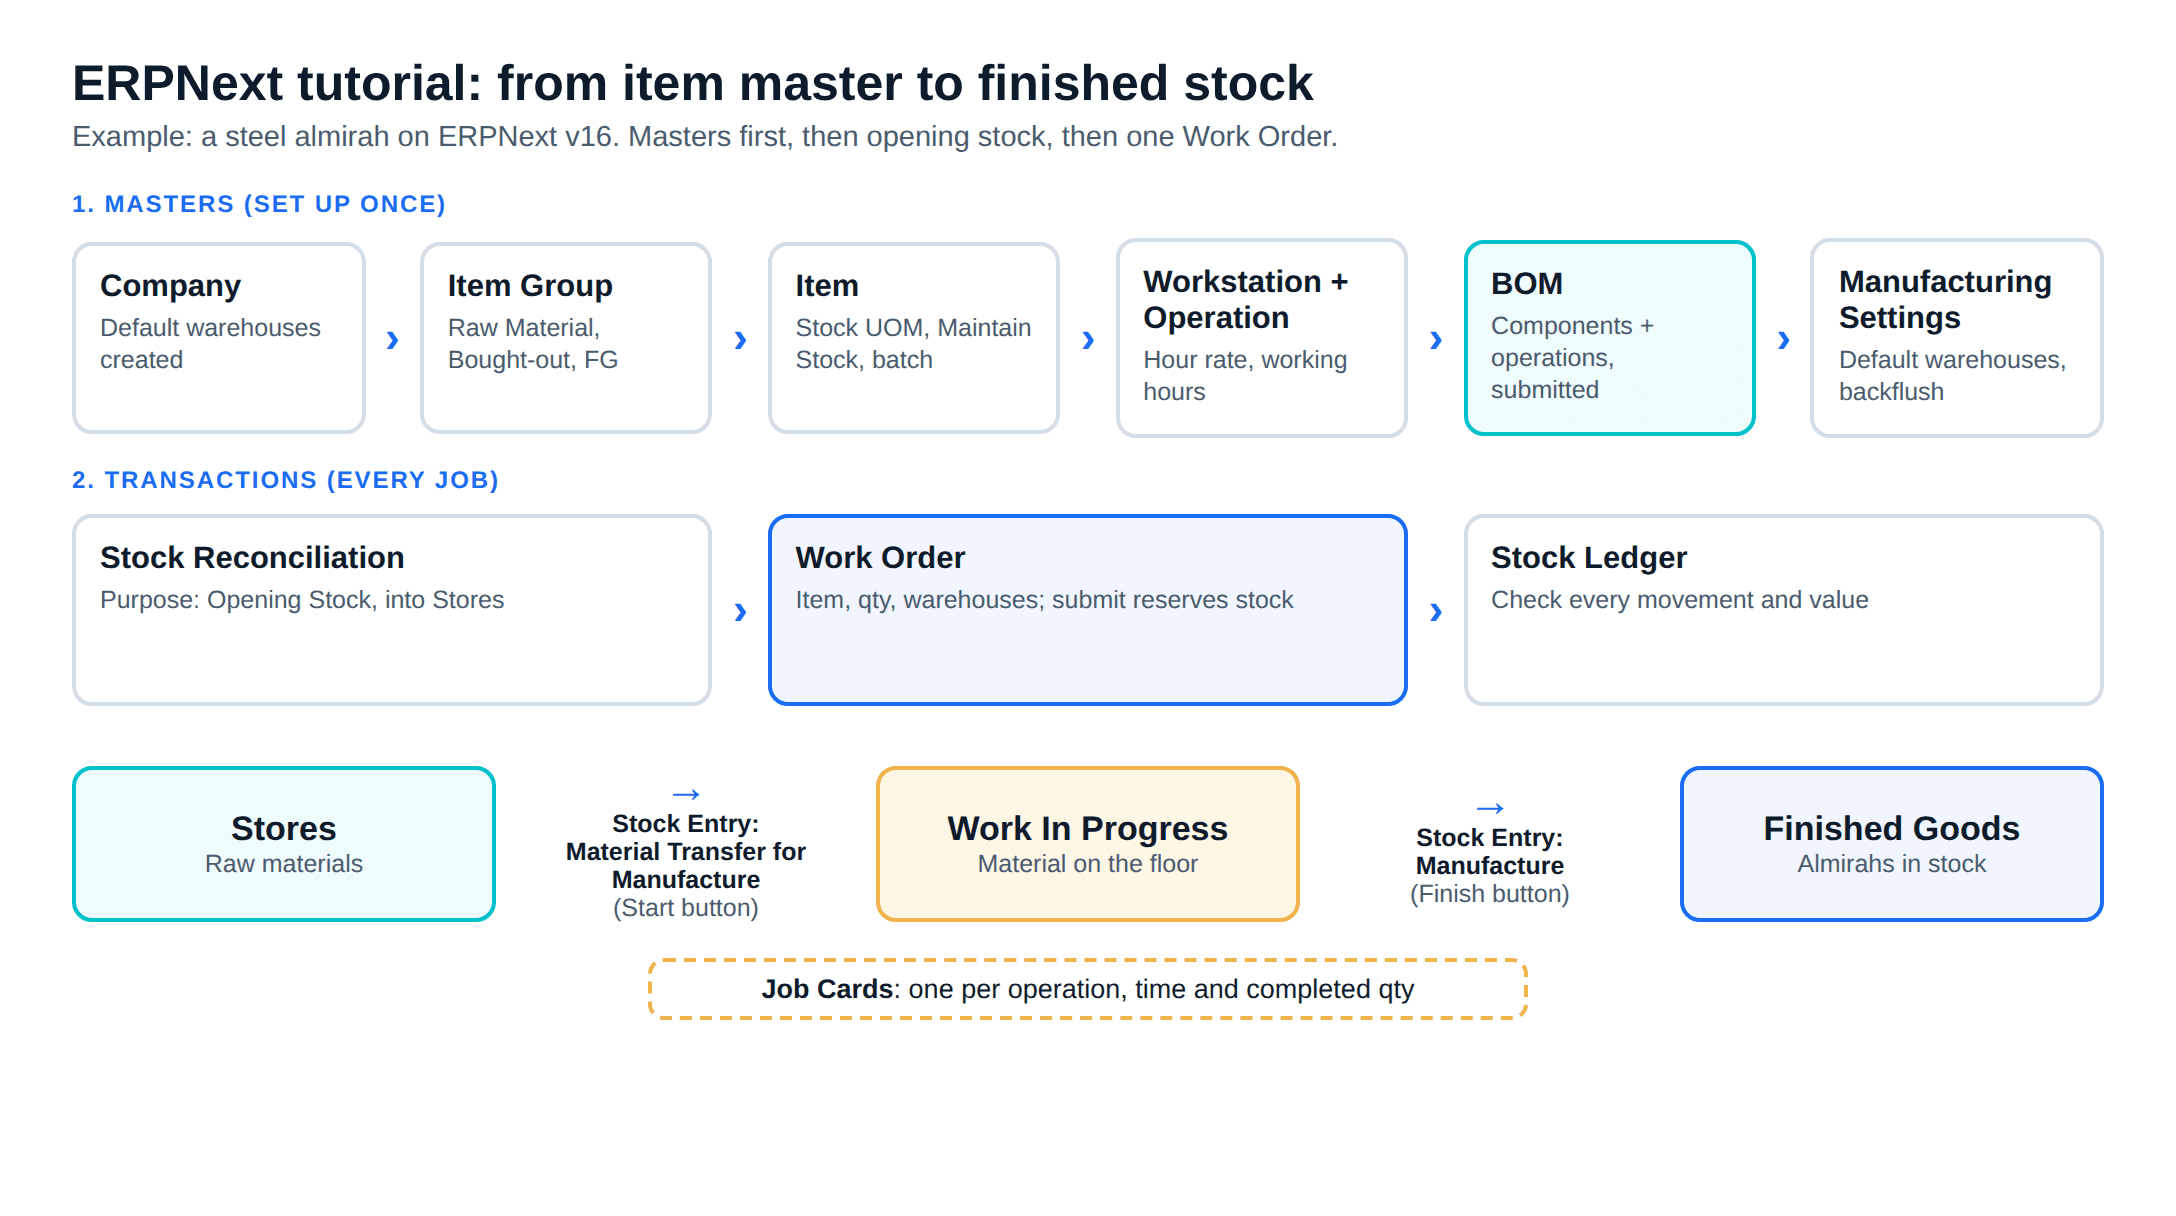
- The order matters: company and warehouses, item groups, items, workstations and operations, BOM, opening stock, then the Work Order. Each step needs the one before it.
- Use Stock Reconciliation with Purpose set to Opening Stock to load what is already on your shelves, before any production entry.
- A Work Order moves material in two Stock Entries: Material Transfer for Manufacture (store to WIP) and Manufacture (WIP to finished goods). Job Cards record each operation in between.
- Backflush Raw Materials Based On, in Manufacturing Settings, decides whether consumption follows the BOM or what was actually transferred.
- Finish by reading the Stock Ledger. If every movement is there with the right quantity, the setup works.
Free ERPNext fit check
Will ERPNext fit your factory?
Answer a few quick questions. On a short call we tell you whether ERPNext fits how you make, stock and sell, and what the rollout looks like.
Check my fit →Before you start: a test site and the menu paths
You need an ERPNext v16 site. The quickest route is the Frappe Cloud 14-day free trial, available at the time of writing. If you would rather run your own server, our guide to installing ERPNext v16 for production covers Docker and AWS. Practise in a test company, never in your live books.
The menu paths below come from the Frappe documentation. The v16 sidebar may group them differently; typing a DocType name, such as "Work Order", in the search bar opens it.
The example product is a two-door steel almirah. Here is what goes into one, as our example assumes:
| Component | Stock UOM | Qty per almirah | Notes |
|---|---|---|---|
| CRCA steel sheet, 0.8 mm | Kg | 32 | Bought by the sheet, stocked in kg |
| Door hinge | Nos | 4 | |
| Lock set | Nos | 1 | |
| Powder coat, grey | Kg | 0.6 | Tracked by batch |
The plant cuts and punches sheet, bends it, welds the body, then powder coats and assembles. Those four steps become operations.
Step 1: company and warehouses
The setup wizard creates your first Company with a chart of accounts and default warehouses. In the v16 source, a new company gets an All Warehouses group plus Stores, Work In Progress, Finished Goods and Goods In Transit, each name suffixed with the company abbreviation (company.py).
For a small plant, those defaults are enough to start. Open Home > Stock > Settings > Warehouse to see them. The Warehouse documentation explains that ticking Is Group lets a warehouse hold sub-warehouses, so you can add a Scrap warehouse, or split Stores into Raw Material and Consumables, under the same group later.
Then open Home > Manufacturing > Settings > Manufacturing Settings and set the three default warehouses for production. The Manufacturing Settings page lists them: Default Work In Progress Warehouse, Default Finished Goods Warehouse and Default Scrap Warehouse. Every new Work Order picks these up, so nobody has to choose a warehouse by hand on each order.
On the same page, decide Backflush Raw Materials Based On. It has two options:
- BOM: the Manufacture entry consumes raw materials at the quantities the BOM states.
- Material Transferred for Manufacture: the Manufacture entry consumes what was actually moved into WIP for that Work Order.
In a sheet-metal shop, offcuts vary by job, so we would pick Material Transferred for Manufacture: the cost then follows what the store issued, not what the BOM hoped for. If you choose BOM, the same page describes a Validate Components and Quantities Per BOM check that stops users changing component quantities in those entries.
Step 2: item groups and UOMs
Open Home > Stock > Items and Pricing > Item Group. The Item Group page shows a tree under All Item Groups. For the example, create three groups: Raw Material, Bought-out Parts and Finished Goods. A group can also carry a default warehouse or expense account for its items.
Units of measure come next. The default stock UOM is Nos, per the Stock Settings page. Steel is the case to think about: you buy it by the sheet but consume it by weight. Set the item's stock UOM to Kg, then add Sheet in the item's UOM conversion table with its conversion factor (in our example, 1 Sheet = 18.8 Kg). Purchase orders can then be raised in sheets while stock stays in kilograms.
Step 3: items, stock and non-stock
Open Home > Stock > Items and Pricing > Item and click New. The Item documentation covers the fields. For each of the four components and the almirah, fill:
- Item Code and Item Name, such as RM-CRCA-08 and "CRCA sheet 0.8 mm".
- Item Group and Default Unit of Measure.
- Maintain Stock: ticked for all five. The documentation says to leave it unticked for a non-stock item (make to order, or a service), and that ERPNext then creates no stock ledger entries for it.
- Include Item In Manufacturing: ticked for the four raw materials. The Work Order page says only items with this ticked can be transferred to production.
- Valuation Method: FIFO or Moving Average. The Stock Settings page says FIFO is the default and that the method cannot be changed once the item is saved, so decide now.
An example of a non-stock item: a powder-coating charge from an outside job worker on busy weeks. It costs money but you never hold it on a shelf, so Maintain Stock stays off.
For batches, the Batch documentation says you switch on serial and batch numbers in Stock Settings (labelled Activate Serial / Batch No for Item in v16), then tick Has Batch No on the item. Tick Automatically Create New Batch so receipts create batch numbers for you. In the example, only the powder coat is batched, so a bad coat can be traced to its drum.
Step 4: workstations and operations
A Workstation is where work happens: a shearing machine, a press brake, a welding bay, a coating line. Open the Workstation list and click New for each. The fields that matter at the start:
- Operating Costs (Per Hour): components such as electricity, rent, consumables and wages. Their total becomes the workstation's Net Hour Rate, which costs each operation.
- Working Hours: shift start and end times. Work Order scheduling checks availability against them.
- Holiday List: days the workstation does not count as working.
- Job Capacity: how many jobs can run at the same time on that workstation.
An Operation is the step itself. Create four: Cut and Punch, Bend, Weld, Coat and Assemble. Give each a Default Workstation, which the documentation says is fetched into BOMs and Work Orders.
Step 5: the BOM with operations
Open Home > Manufacturing > Bill of Materials > Bill of Materials and click New. The BOM documentation walks through it.
Header
Operations
Components
Submit
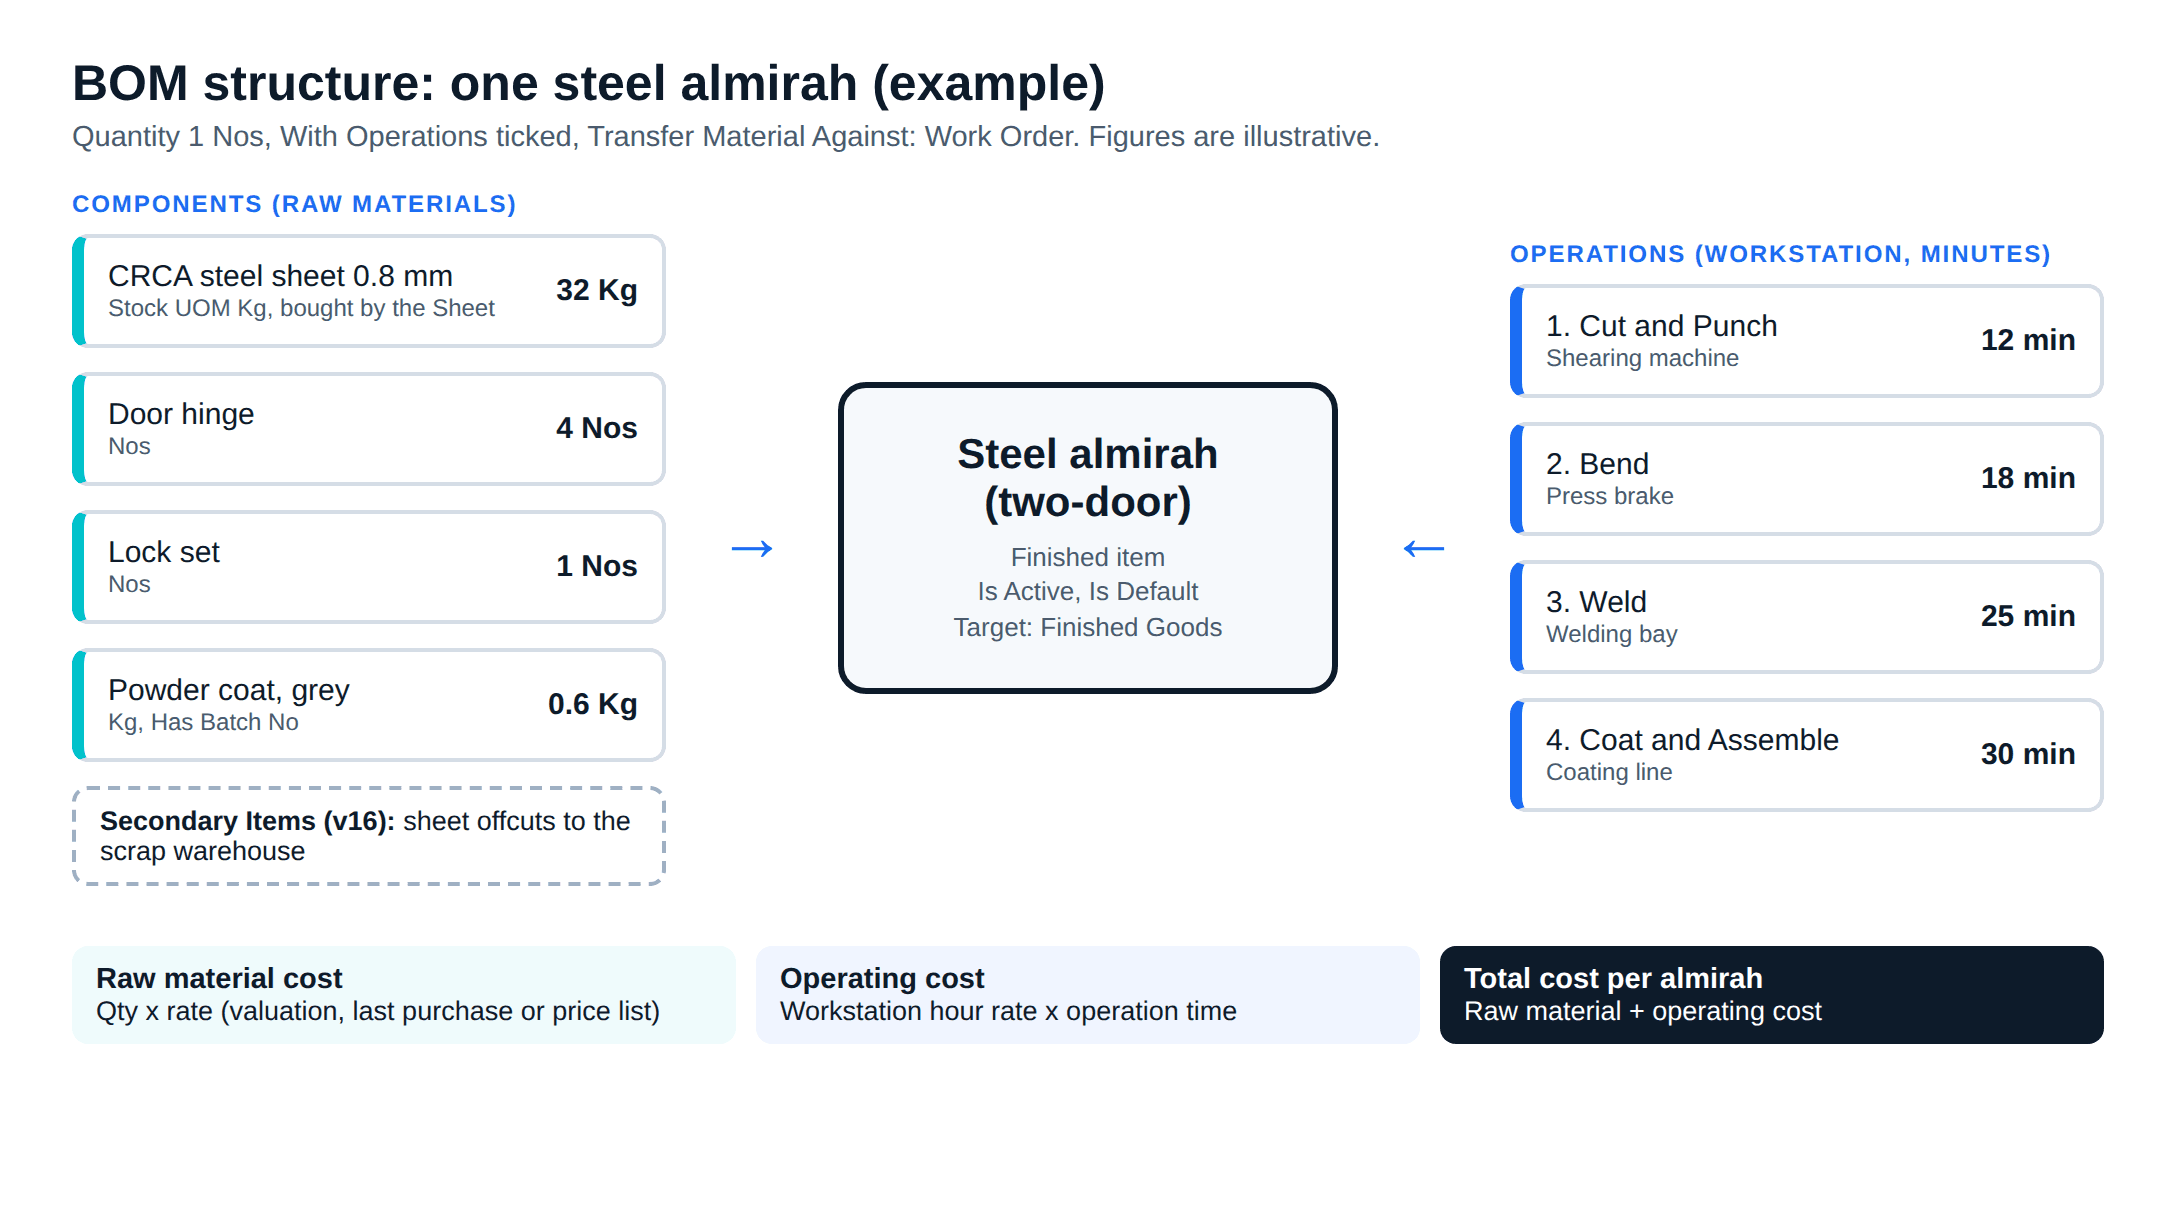
One v16 change to know: the documentation says the Scrap Items table has been replaced by Secondary Items. Sheet offcuts go there. If you enter the item being made as its own scrap, the page says it becomes a process loss and its quantity is subtracted from the output.
Set Transfer Material Against to Job Card instead if each operation draws its own material. For a first run, Work Order is simpler. Our production planning, BOM and MRP guide covers multi-level BOMs and Routing, which you need once sub-assemblies are made separately.
Step 6: opening stock with Stock Reconciliation
ERPNext needs today's shelf stock before any production entry. Open Home > Stock > Tools > Stock Reconciliation and click New. The Stock Reconciliation documentation describes two purposes, and you want Opening Stock.
- Set the Posting Date and Time to the cut-over moment.
- Add one row per item and warehouse: Item Code, Warehouse (Stores), Quantity and Valuation Rate.
- For the batched powder coat, enter the batch number, or leave it blank to have one generated if the item auto-creates batches.
- Save and submit.
For Opening Stock, the page says the Difference Account is set to Temporary Opening. Your accountant clears that against the opening balance sheet. If you are moving from Tally, closing stock by godown is the number to load here; our Tally to ERPNext migration guide covers the cut-over date and the order to load balances.
Step 7: Production Plan or a direct Work Order
A Production Plan pulls in Sales Orders, explodes BOMs and creates Work Orders and Material Requests together. For a first run, skip it. We would run a few Work Orders by hand before touching Production Plan, because every document it creates is one you should already recognise.
Open Home > Manufacturing > Production > Work Order and click New. Per the Work Order documentation:
- Pick the almirah as Item To Manufacture. The default BOM is fetched.
- Enter Qty To Manufacture, say 10. The required raw materials fill in only after this.
- Check the warehouses: Source Warehouse per raw material row, Work-in-Progress Warehouse and Target Warehouse. They come from Manufacturing Settings. The document saves without them but will not submit.
- Set the Planned Start Date.
Submit it. The documentation says submission reserves raw materials in the source warehouses, creates draft Job Cards, and schedules the operations against workstation hours and holidays.
Step 8: Material Transfer for Manufacture
On the submitted Work Order, click Start. This opens a Stock Entry of type Material Transfer for Manufacture, with the raw materials for the quantity you enter moving from Stores to Work In Progress. Check the quantities against what the storekeeper actually issued, then submit. The Work Order's Transferred Quantity updates.
If you use Material Transferred for Manufacture as the backflush basis, this entry is your consumption record, so it has to match the floor. If transfers happen in bulk and are not tracked per order, the Work Order page describes Skip Material Transfer to WIP Warehouse, after which Finish creates the Manufacture entry directly.
Step 9: Job Cards on the floor
Open Home > Manufacturing > Production > Job Card and you will see one per operation for the Work Order. The Job Card documentation describes the routine:
- Click Start Job when the cutting begins, and pick the Employee if asked.
- Click Complete Job when done, and enter the Completed Qty.
- Or fill From Time and To Time in the Time Logs table after the shift.
- Submit.
The page says v16 adds a Pending Qty field for partial work, and that process loss is calculated only when Pending Qty reaches zero. Each submitted Job Card updates the operation's status, actual time and actual operating cost on the Work Order.
Step 10: the Manufacture entry
When the batch is done, click Finish on the Work Order. ERPNext opens a Stock Entry of type Manufacture. The Work Order documentation says it deducts raw materials from Work In Progress and adds finished goods to the target warehouse. You can enter a partial quantity, such as 6 of 10 almirahs, and finish the rest later.
The finished almirah's value comes from the raw materials consumed plus the operating cost, which the entry carries as an additional cost. The Stock Entry page says additional costs are added to the incoming item's valuation rate. Unused material goes back with Return Components, which creates a return transfer from WIP to stores.
Step 11: check the Stock Ledger
Type "Stock Ledger" in the search bar and open the report. The Stock Ledger documentation describes it as the record of every inward and outward movement, with columns such as Incoming Rate, Valuation Rate and Balance Value, and a Voucher # you can click to open the source document. Filter by the Work Order's items and you should see:
- The Stock Reconciliation adding opening stock in Stores.
- The Material Transfer for Manufacture moving steel, hinges, locks and powder out of Stores and into Work In Progress.
- The Manufacture entry consuming them from Work In Progress and adding almirahs to Finished Goods.
If a line is missing or a quantity looks wrong, click its voucher and trace it back. Check the BOM quantity, the warehouse on the transfer, and whether the item has Include Item In Manufacturing ticked.
What this ERPNext tutorial leaves out
This walkthrough covers one product, one level and one Work Order. A real plant adds sub-assemblies, job work sent to a supplier through subcontracting, quality inspections, and GST on every purchase and sale. The production planning software guide helps you decide how far to take planning, and ERP implementation steps and challenges covers training, data clean-up and the other rollout work that happens away from the screen.
After the trial, the next job is loading your real item master, BOMs and stock, and training stores and floor staff to make these entries daily. That is what our ERPNext implementation service does for small plants. Metageeks is an independent ERPNext implementer, and if a step your plant needs has no standard document, such as a custom costing report, that falls under ERPNext development.
Frequently asked questions
Can I follow this ERPNext tutorial without installing anything?+
Yes. Frappe Cloud offers a 14-day free trial at the time of writing, which gives you a hosted site to practise on. If you want your own server, our ERPNext v16 installation guide covers Docker and AWS. Use a test company either way, so practice entries never mix with real books.
What is the difference between a stock item and a non-stock item in ERPNext?+
A stock item has Maintain Stock ticked in the Item master, so every receipt, transfer and issue creates stock ledger entries with quantity and value. A non-stock item has it unticked: ERPNext creates no stock ledger entries for it. Use non-stock items for services, such as an outside job charge, and for made-to-order items you never hold.
Should I use Production Plan or create Work Orders directly?+
For your first runs, create Work Orders directly. One Work Order per job shows you the full document chain with the fewest moving parts. Move to Production Plan once several Sales Orders need to be netted against stock and turned into Work Orders and Material Requests together.
What does Backflush Raw Materials Based On do?+
It is a setting in Manufacturing Settings with two options. BOM consumes raw materials in the Manufacture entry at the quantities the BOM states. Material Transferred for Manufacture consumes what was actually moved to the work-in-progress warehouse for that Work Order, so the floor's real usage drives the cost.
Do I need Job Cards for every product?+
No. Job Cards exist only when the BOM has With Operations ticked. If you care about batch quantity and material cost but not time per operation, run BOMs without operations and Work Orders without Job Cards, and add operations later.
Related reading
- Production planning, BOM and MRP in ERPNext: Production Plan, multi-level BOMs and capacity.
- Installing ERPNext v16 for production: Docker or AWS, step by step.
- Tally to ERPNext migration: moving masters, balances and stock.
- ERP for manufacturing in India: where ERPNext fits among the options.
Free ERPNext fit check
Will ERPNext fit your factory?
Answer a few quick questions. On a short call we tell you whether ERPNext fits how you make, stock and sell, and what the rollout looks like.
Check my fit →About the author

- Tags
- erpnext
- erp
- manufacturing
- india
- tutorial
Subscribe to Our Newsletter
The AI Build Brief: practical playbooks on how to build, price and ship AI features, in one short email every other week.